

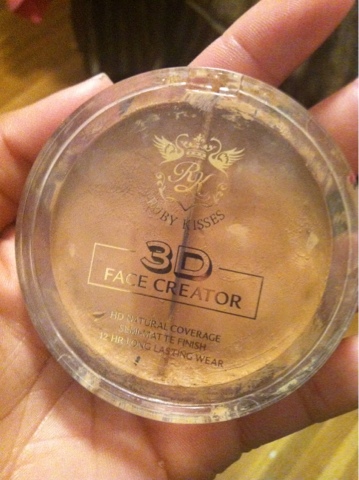
Side Note: Heres a cheaper alternative to the Mac concealer. Its by Ruby Kisses, I purchased it at a beauty supply store for about $5. It works just as well. Ok, back to the tutorial lol.....
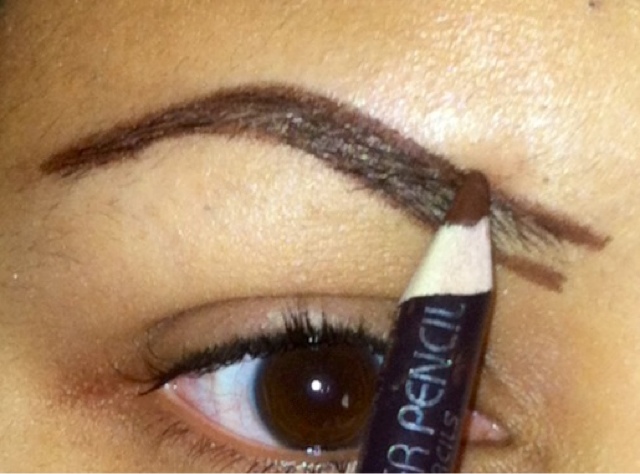
Starting with a well groomed/tweezed eyebrow, use a SHARPENED eyebrow pencil, outline the natural shape of your brow. Do not press down too hard, just use light strokes
Side Note: a sharpened pencil gives the best results, so it is necessary to resharpen the pencil before working on the other eye....
Keep in mind that you do not have to be completely perfect when outlining the brow, that is what the concealer will be used for later, to clean up the mistakes/imperfections.

Next, LIGHTLY, fill in the brow with the brow pencil.Once again, dont be overly particular about the neatness of how you fill it in, we will correct that in the next step. Oh and please excuse my brows they are in need of a tweezer lol.

Dip the angled brush end of the spoolie in the brow powder and lightly apply the brow powder on top of the eyebrow. The brow powder sets the eyebrow pencil, helping your eyebrows to be smudge proof and last all day.

Using the spoolie, starting at the front of your eyebrows, brush out your eyebrows. This helps blend the powder and pencil into your eyebrow giving it a more natural look and less like you drew your eyebrows in. Make sure you blend the beginning of your eyebrow out to get rid of the square/box shape. Box shape brows are a definite NO NO!

This is how your brow should look after you brushed it out with the spoolie. Notice how the beginning of my brow does not have the box shape as it did in the beginning of the tutorial.

Using the flat liner brush, outline your brows with the concealer. This cleans up any mistakes and keeps the brows a clean/sculpted/well groomed look.
Side Note: choose a concealer a shade lighter than your skin tone. It acts a natural brow hightlight for your eyeshadow look.

Blend the concealer out with your flat line brush and finger. This gets rid of harsh lines.

Finally, apply clear mascara gel across the brows. This keeps the hairs in place and sets the eyebrows so they last all day long.


Here is the Finished brow!
Now, this process takes a little while to master. The more you fill in your eyebrows this way, the better you will get.
XOXO
Charmaine

THE STEPS ARE EASY. Step pics didnt show up (blog work in progress) but practiced on a mannequin head. Thanks ! Looking forward to smokey eyes and lashes uugghhh
ReplyDeletehopefully you will be able to view the pics or i hope it isnt an error on my end!!! lol yeah im working on more tutorials... give me some time tho lol. thanks!!
Deletepictures should be viewable now :)
DeleteYes, I LOVE IT! You are definitly a natural at this beauty blog thing. I will be looking forward to seeing the natural brow blog as well as everything else. KUDOS! Keep them coming!
ReplyDeletethank you girl... yes im workin on some more.... ill keep u posted
DeleteAwesome tutorial! I only line the bottom, but now I will try to do the top as well. Thanks for showing me a new way to do brows! I subscribed via email. ;)
ReplyDelete~Natalia
sincerelyrenay.blogspot.com
thanks natalia!
ReplyDelete